
Introduction
We were tasked for this assignment with designing and creating a 3d character of my own design.
Unlike previous modules like 3d asset design and environment design this assignment did not specify a specific theme or idea, therefore I had free rein over the type of character that I would create.
During this module I had to learn a series of skills related to the different types of software that I used in the creation of my character, these included ZBrush, Autodesk Maya and Adobe Substance Painter, learning how to use these programs is important because of their use in modelling in the videogames industry.
This module teaches important skills for modelling and learning. In both how to create a character and better understanding things that make modelling easier. Like understanding of anatomy, since if a character is not close to anatomically correct it diminishes the character. Another example of this is the style of the character, this links to anatomy as sometimes the character does not have to be strictly anatomically correct if the character is not human or if the art style is not meant fit proper anatomical proportions.
original ideas
Due to the undefined theme of this module, it was difficult coming up with and fleshing out design ideas. Since there was no base to use to create a general idea, some ideas were very similar and others were completely different, making harder to decide on my final idea. As there was no easy comparison method of the different concepts. I ended up filtering out the ideas by deciding which were my favourite of the similar ideas, then eventually just choosing between different ideas based almost solely on personal bias and what I felt would be cool to create.
After exploring all my ideas I decided to give myself a general theme that I would base my concepts on. I chose the theme of fantasy with a particular focus dungeons and dragons, however I did not want to create regular dungeons and dragons character ideas and wanted to create something that defied the established expectations for class and race characteristics in fantasy as a whole, with this in mind I ended up with three final ideas that that I liked the most and decided between them.
orc rogue idea
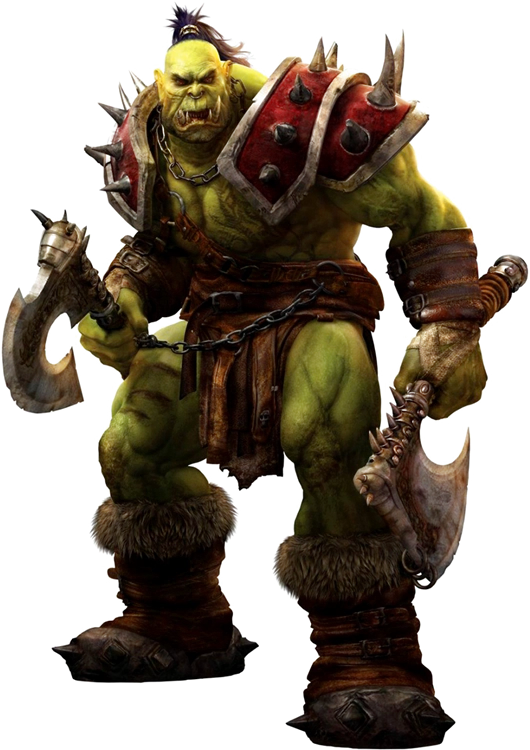
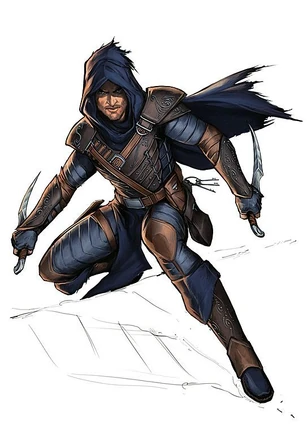
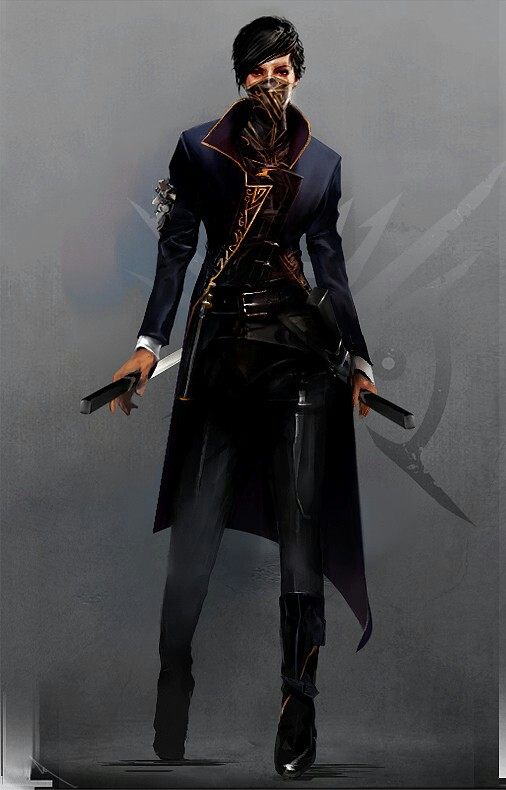
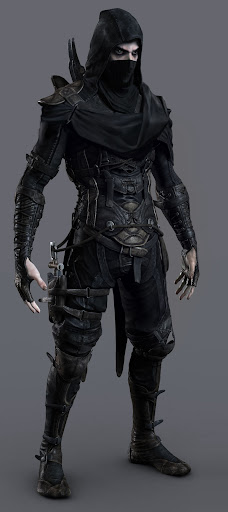
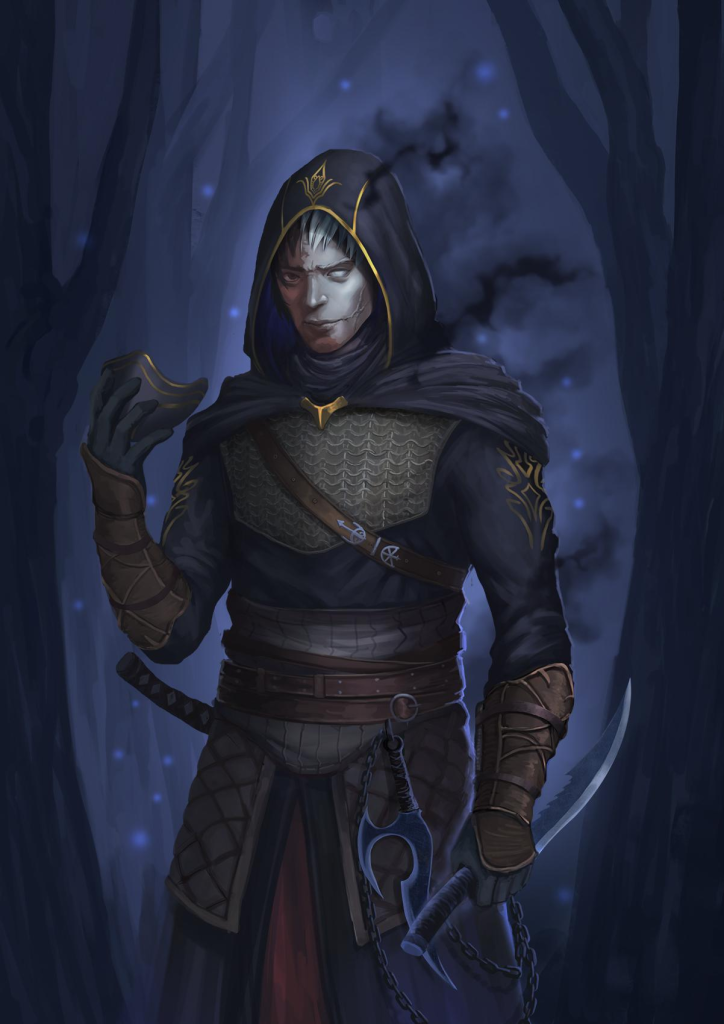
My first character idea was a large fantasy race, like an orc or a minotaur, those that are normally seen as large and brutish. Instead I wanted to make them sneaky rogue or assassins. I liked this idea because it went perfectly with the theme I’d set myself of defying stereotypical fantasy classes. I felt that the character would still be large and have to work around their size to still be sneaky and stay hidden, this would be shown in the character’s design through the clothing and the character’s stance and posture.
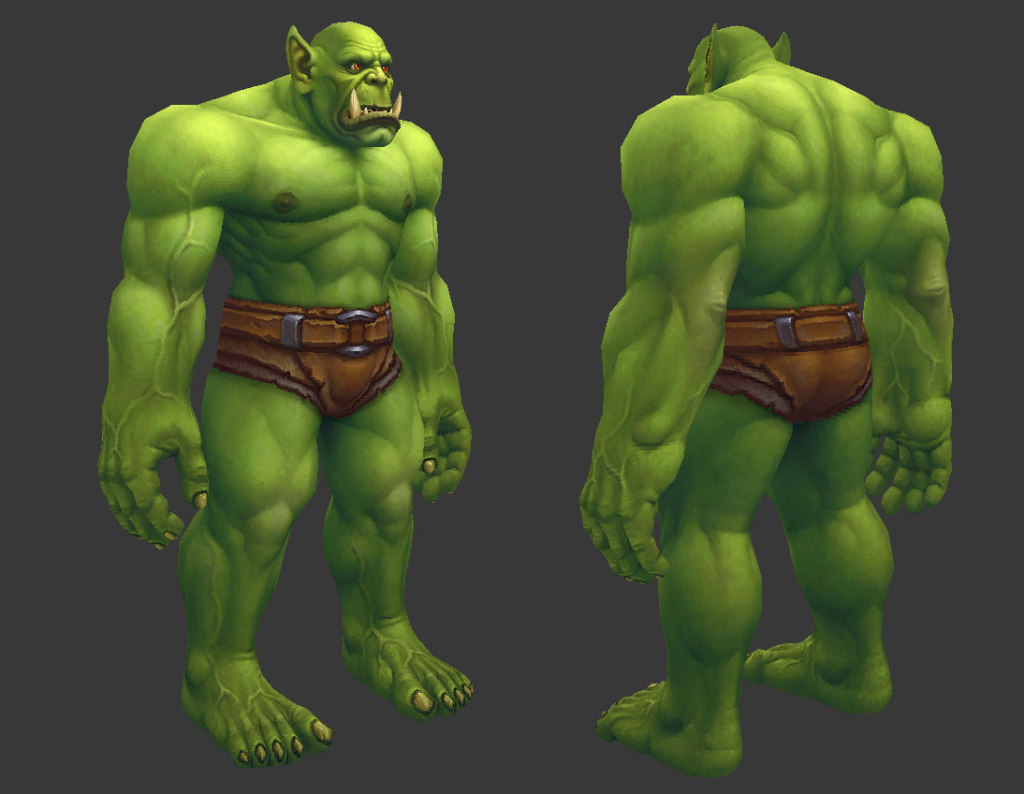
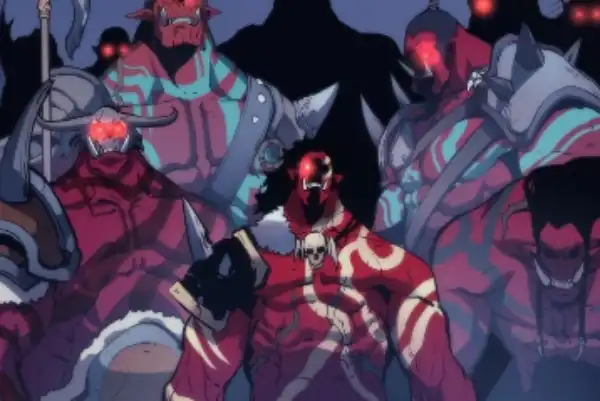
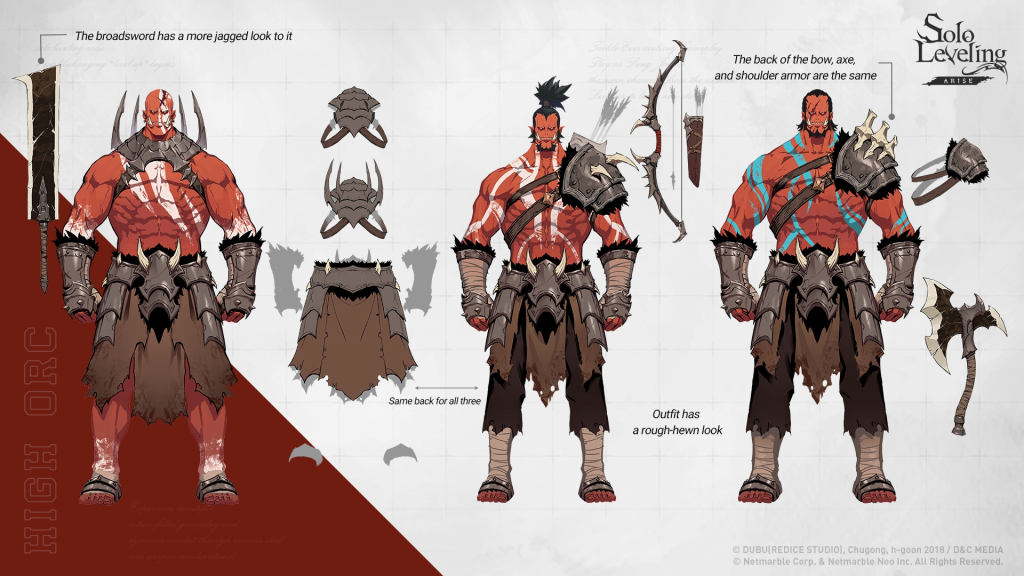
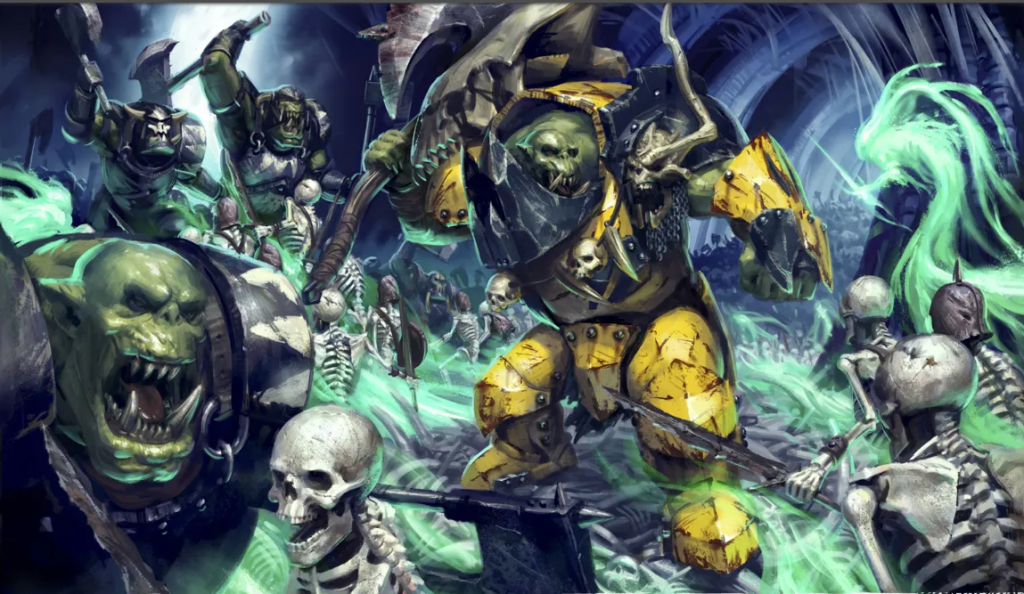
The character’s design such as race and size are visually inspired by other media such as the video game world of warcraft and tabletop games such as Warhammer, age of sigmar and dungeons and dragons. I even took some inspiration from the representation of orcs in the manwha solo levelling.

For things such as the character’s clothing, posture and personality I took inspiration heavily once again from dungeons and dragons and other media connected to dungeons and dragons as well as video games such as assassin’s creed, dishonoured and thief. These different forms of media inspired the character’s clothing, stance and weapons for example wearing a cloak with a large hood to leave shadows over the face and a mask to fully cover the details below. With light, flexible armour that would be easy to manoeuvre around in without compromising speed too much. This also inspired the idea that the character should wield something like two short swords or daggers or alternatively they would wield a chain knife style weapon whilst still having daggers and knives hidden on the body.

I did go with this option because I felt that with only the character and not any other context I could not properly convey that the character as a stealthy and subtle character without any external additions.
tortoise paladin idea
My second character design idea was for a tortoise tank class themed character, I thought of making them specifically a paladin as I felt that it would have been very unique to not only use the tortoise as a tank character but also have them lean into the religious themes and iconography of the paladin class.
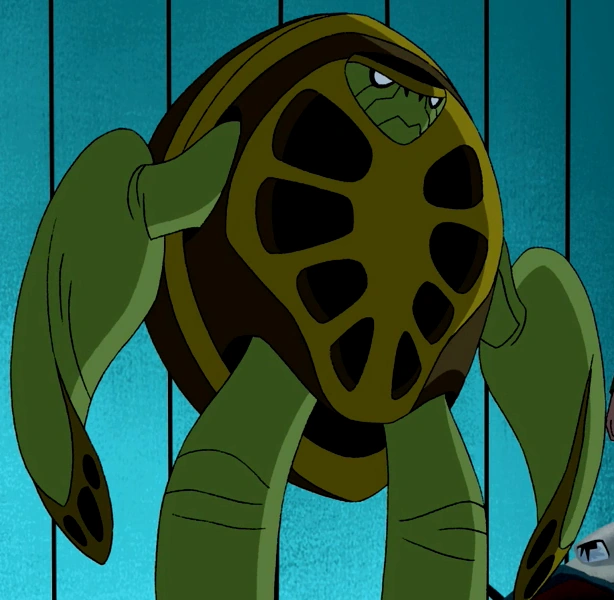
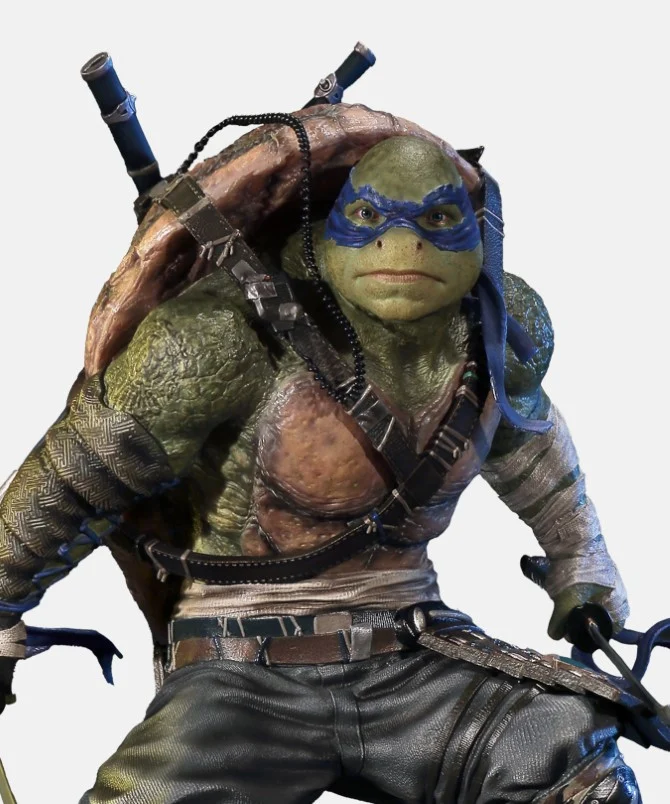
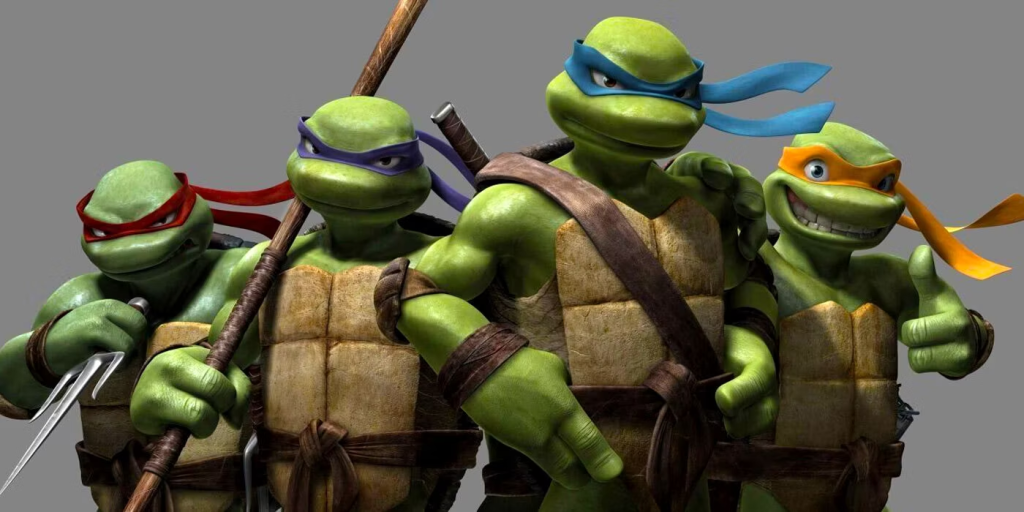
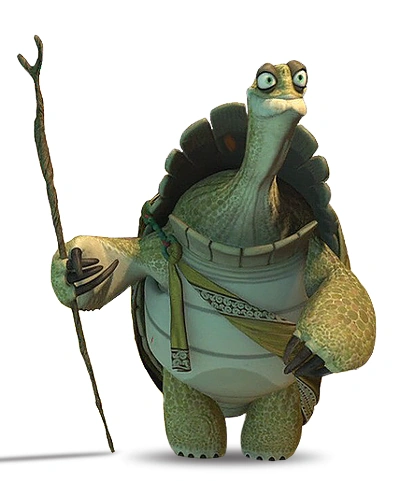
For the character race, size and shape references I used media that included bipedal tortoise and compared how I felt the body shape should look. Since tortoise’s are not naturally bipedal different media creates different representations of how a bipedal tortoise could look. I mainly looked for inspiration from cartoons game games, the main inspiration was the teenage mutant ninja turtles and master oogway from Kungfu panda as reference for the body shape, stance and shell size.
For the class aspect of this character I took inspiration from dungeons and dragons for the paladin theme a larger bulky character that has high defence and wields large shield for extra defence, for this I intended to substitute a separate shield for the tortoise’s large shell. I also took inspiration from history, especially depictions of the knights templar for the iconography and clothing style, I intended to have the tortoise wear armour and wield a mace.

I did not pick this idea as i felt that it would be far too challenging to model and create this character properly, an example of this is that due to the nature of the character being a bipedal tortoise i would not be able to properly demonstrate an understanding of anatomy without making the character more humanoid than i would have liked, I also did not think i was able to properly make the armour.
small creature with big weapon
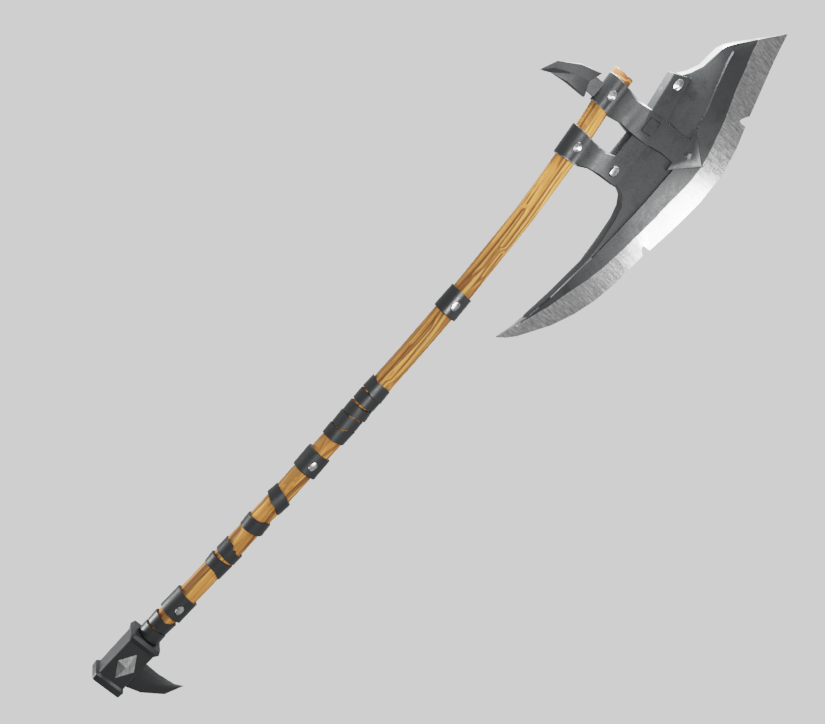
My third character idea was for a small character that looked like a tribal creature and wielded a giant axe that was bigger than their body, as such I envisioned them with a cloak or robe covering them to further draw the emphasis to the oversized weapon that they wield.
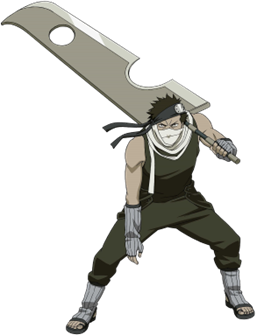
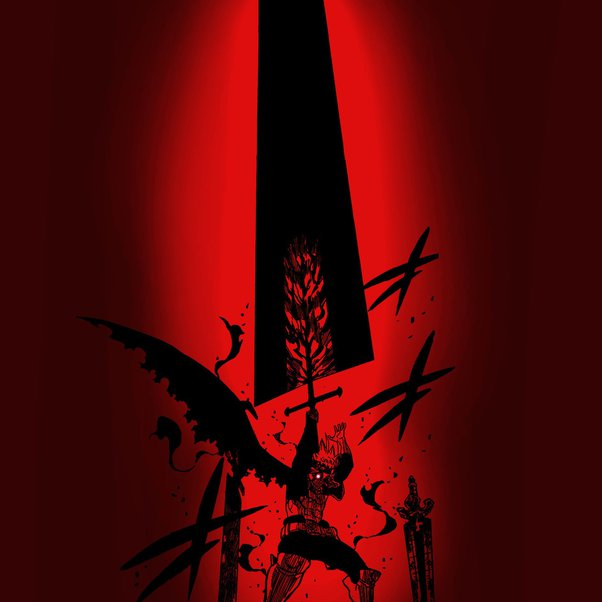
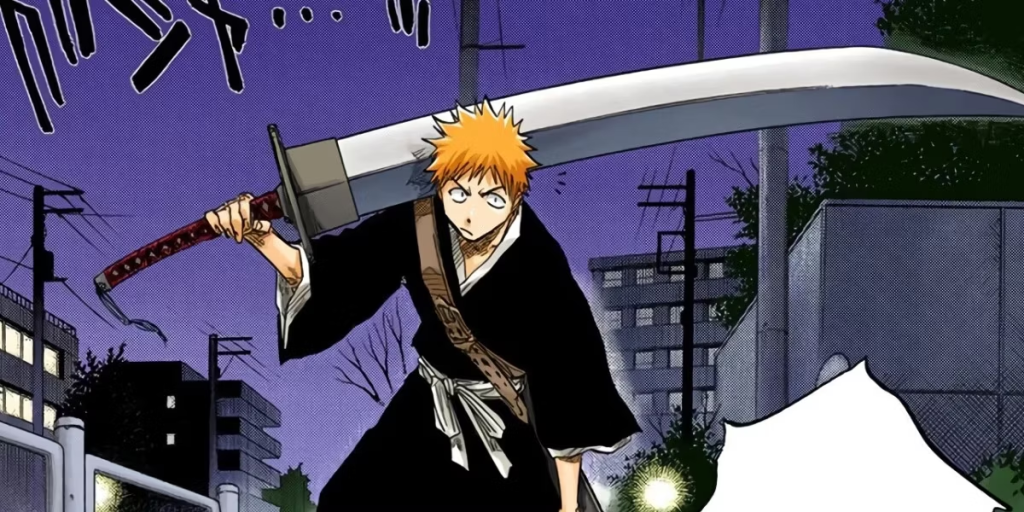
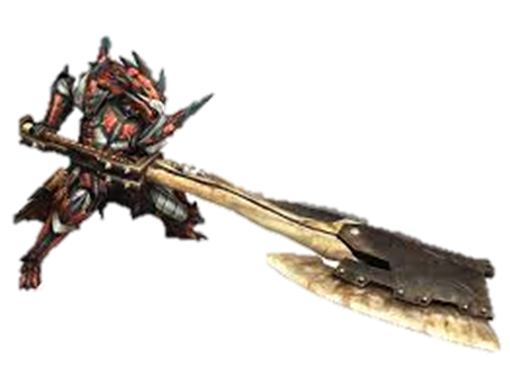
The character concept is inspired by characters from other games primarily monster hunter with the giant oversized weapons in that game and tinkaton from pokemon. I was also inspired by anime such as bleach and black clover where the main character has a large weapon. I wanted to push that aspect to an extreme level by having the larger weapon and the smaller character, exaggerating the size of the weapon when compared to the person wielding it.
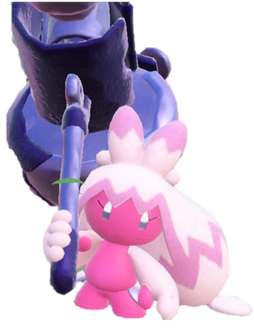
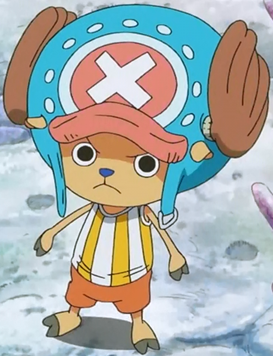
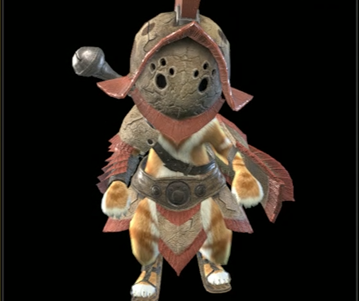
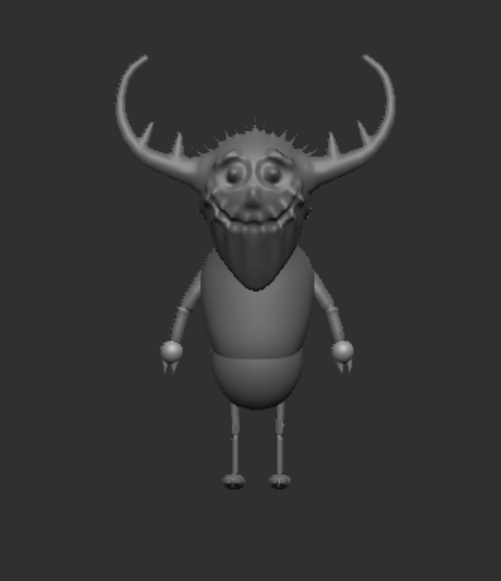
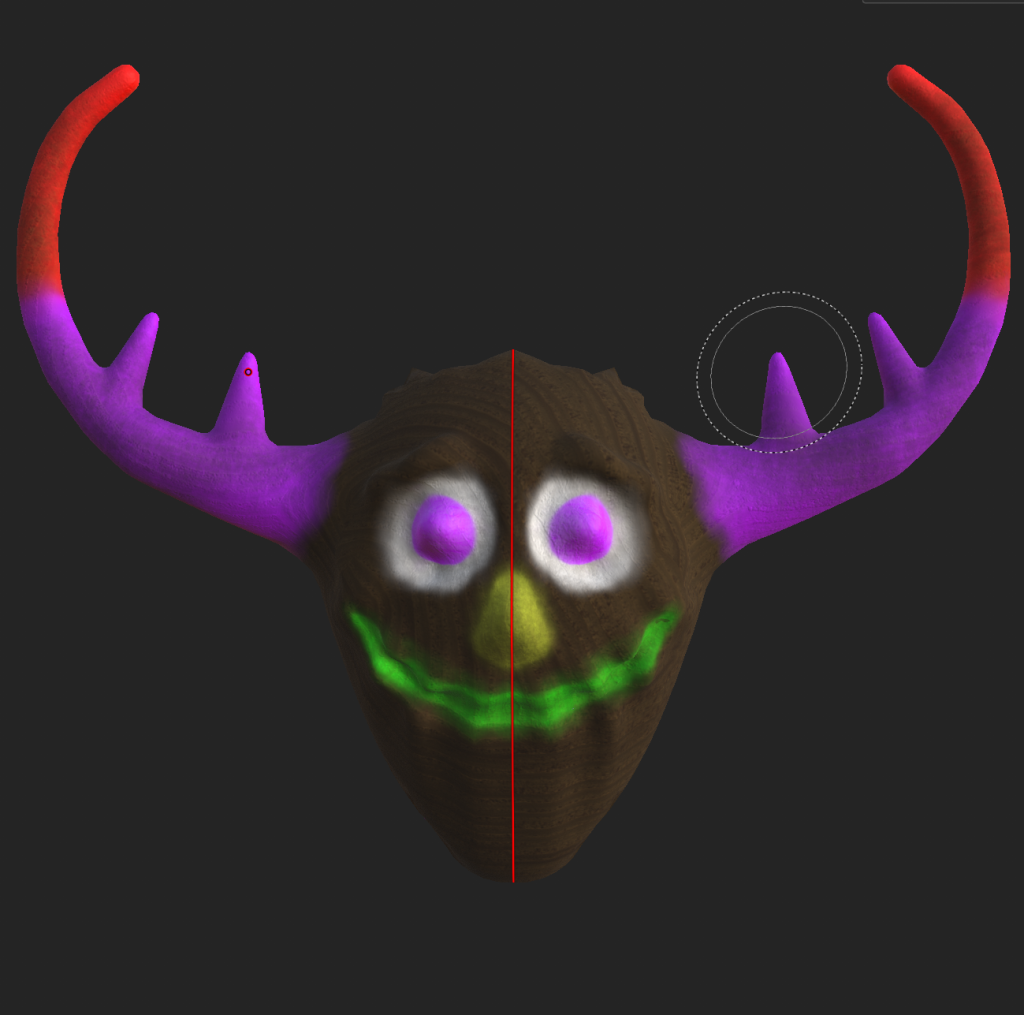
My final idea and the one I decided to go through with, I wanted to make it a small anthropomorphic animal similar to the palicos from monster hunter or chopper from one piece but much more fluffy and with more volume to the fur. I chose this because otherwise it would be too similar to other characters in having few to no distinguishing features. I chose to have the character’s torso and arms covered in a robe. I gave the character a tribal mask that adds a focal point with to bright colours and unique face design.

starting the modelling
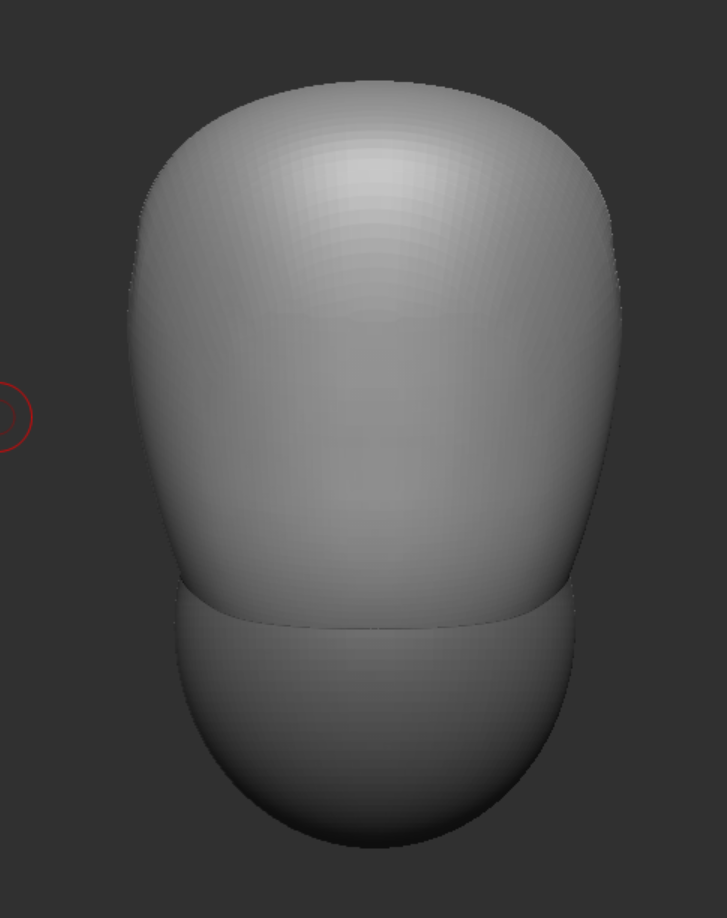
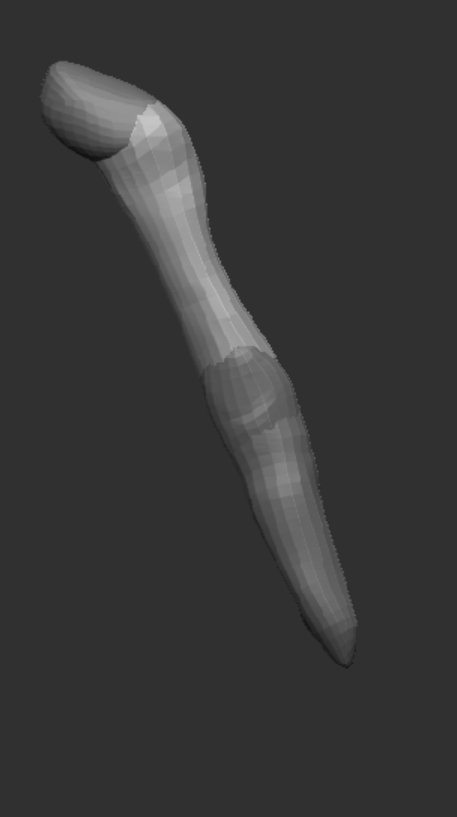
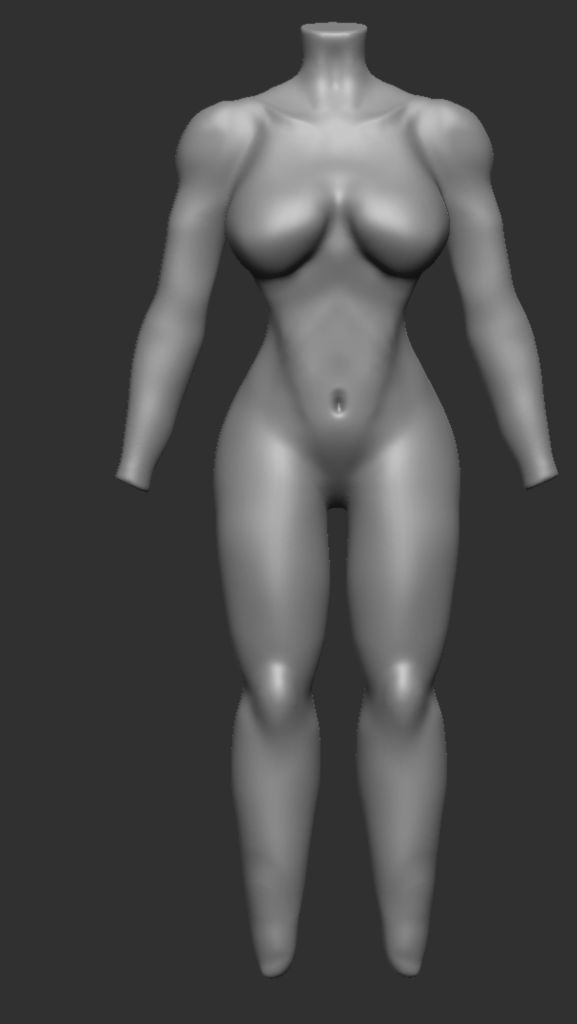
I started to create my model with a sphere and then used the move tool to reshape the sphere into the general shape of the character’s torso. Considering I was using chopper from one piece as the body shape reference, I made the top part less curved and the bottom more curved, then brought the front and back in to create the original shape. I added a second smaller sphere underneath to create the proper torso shape.
Then I started to model the basic shapes of the arms and legs for the character, since they were also based on chopper from one piece they ended up looking just like thin sticks protruding from the torso instead of connecting properly.
character changes and modelling
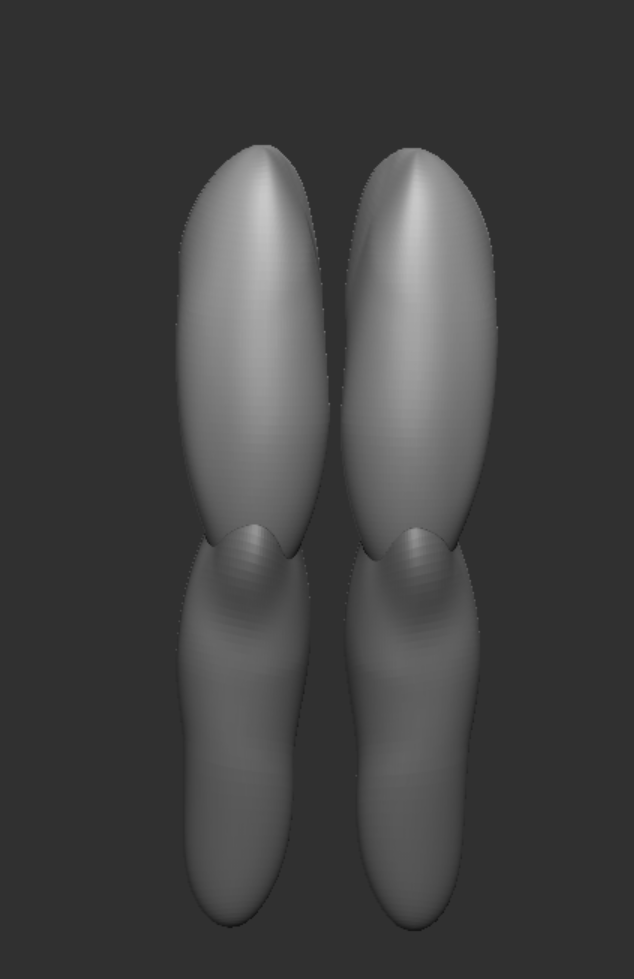
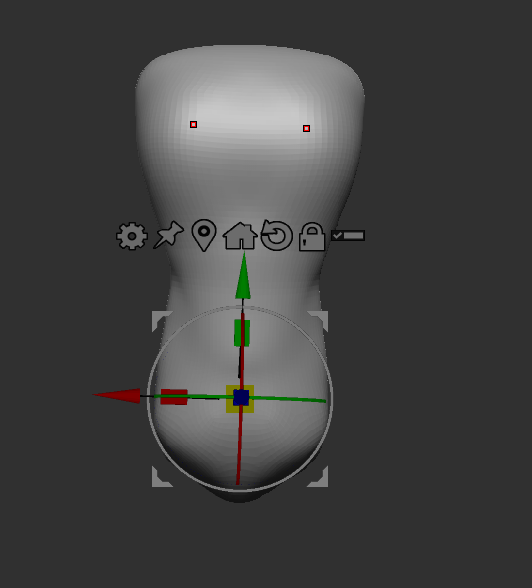
After getting the basic block out shape and seeing the arms and legs. At this point I realized if I continued to create the character the way I had begun to I would not be able to properly show understanding of proper proportions and anatomy. So I chose to modify the idea to focus less on the tiny character aspect and instead work on better anatomical proportions. I extended the torso with a middle section and then using the knife curve tool, I cut the places for the legs to connect. Then started modelling the arms and legs again. I started with the legs from a sphere used the move tool to extend it and then added a second one below for the lower leg. I used the clay buildup brush to actually model the leg, the move tool and the smooth tool to build the upper leg into the right shape to connect to the torso. I then smoothed the connection between the upper and lower torso with the clay buildup and smooth tools as well as the dam standard tool to create cuts in the model.
Making the arms was similar to making the legs except the arms had extra added pieces like the elbow and shoulder. These were necessary as the arms could not properly attach to the torso without the shoulders. Adding extra pieces for the elbows left more room for editing and changing without having to directly connect the pieces or work from just one part for the whole arm.

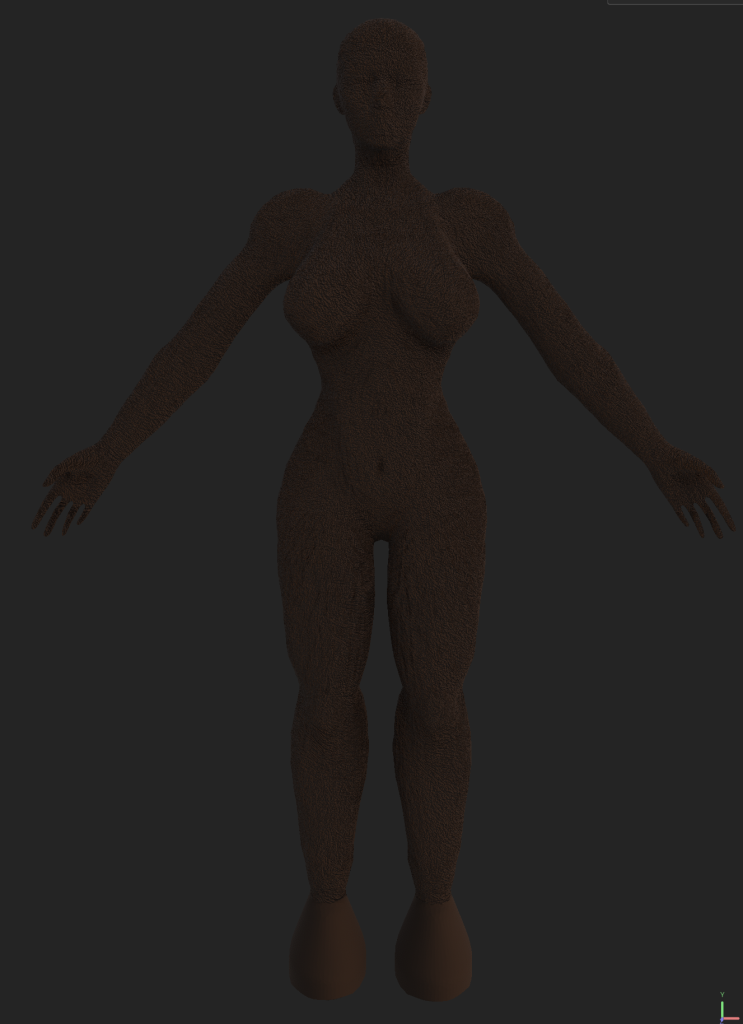
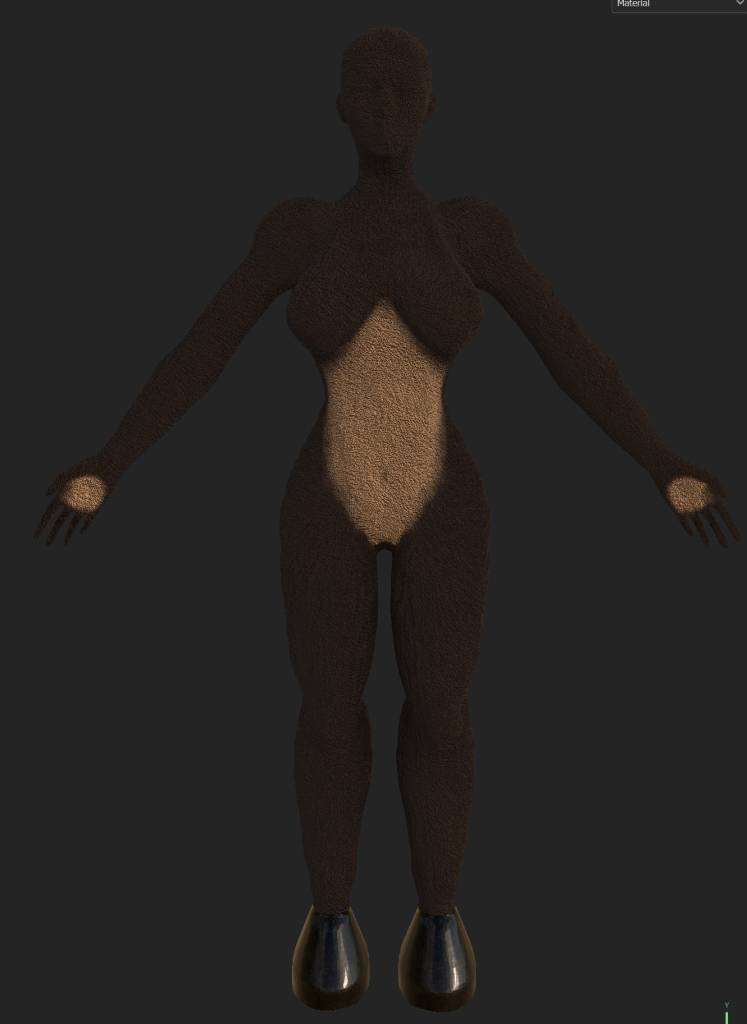
After creating the arms I smoothed the torso, after seeing what all the smoothed and connected pieces looked like, I saw that the character ended up looking more feminine. Since I had not previously been decided on the gender of the character, I wanted to wait and see how the modelling went. I decided to lean into the feminine look, using references I tried to get the proper muscle proportions and shapes for a woman. I tried my best to replicate it primarily the in way that the biceps connect to the body, and arm and in how the stomach looks without looking deformed or strange.
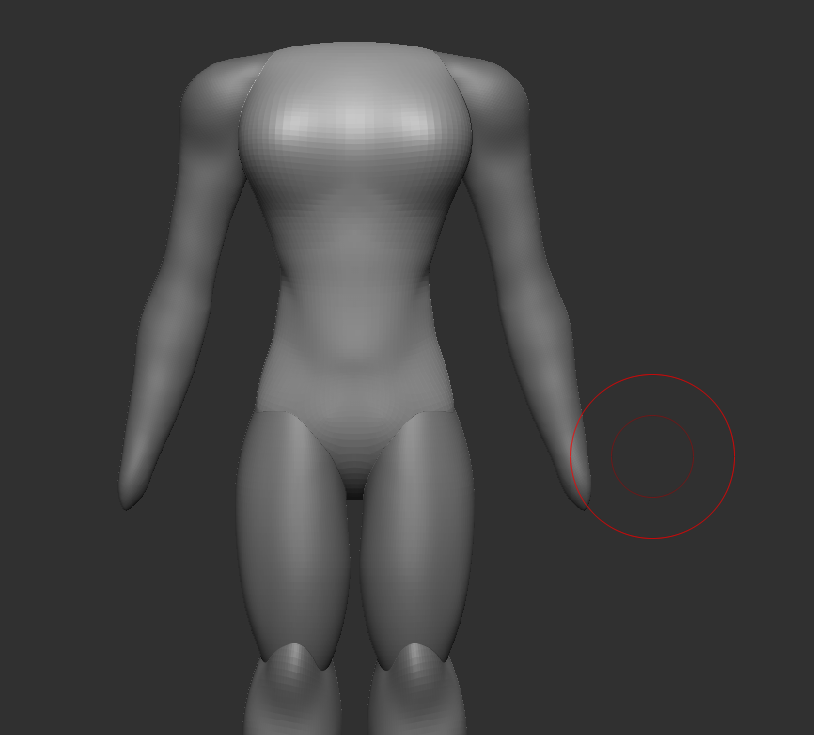
I scrapped the idea for the clawed hands and feet, then connected the body parts. After the character was joined properly and all one object, I cleared up some other issues with the body shape and anatomy, like properly creating the biceps, refining the neck and chest more and again improving the stomach area, and cleaning up the joints.
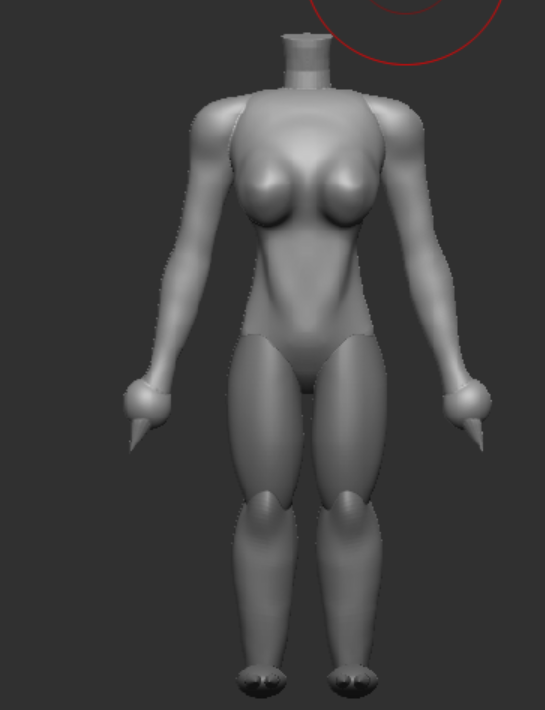
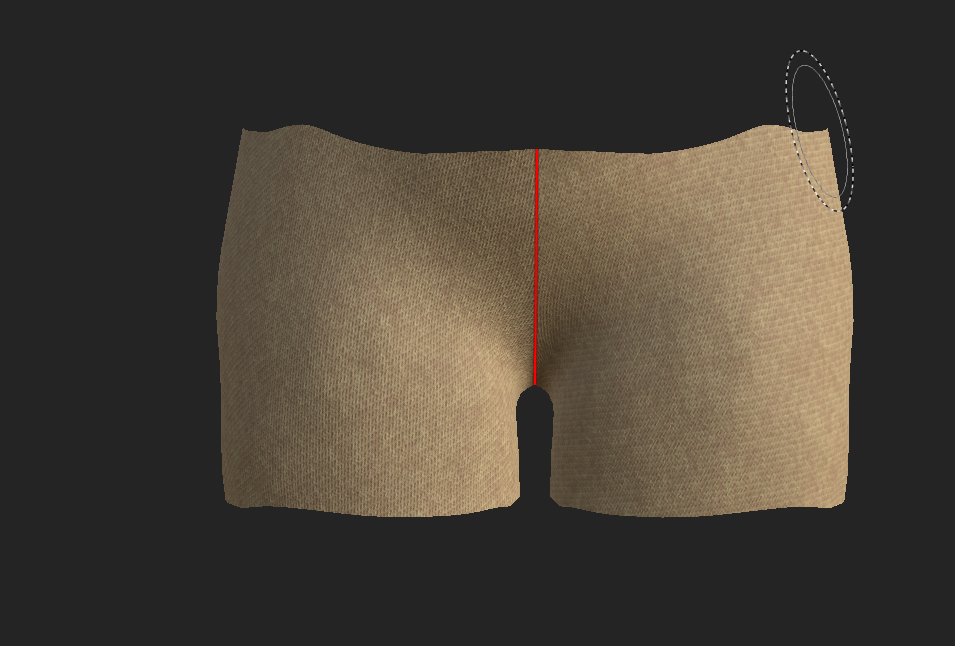
After the body was in a state I was happy with I used a fur tool to give the character some basic fur all over the body to match the animal character theme. Next I started to create clothes while considering what to do about the hands and feet of the character. I wanted them to be able to properly hold a weapon but still have some animal features. So that the character is not just a regular human. I eventually decided that I would make the feet cow or horse type hooves, and then just regular hands so that the character can hold things properly.
I added a basic head shape to the character as it would be entirely hidden underneath the character’s clothing.
Clothing
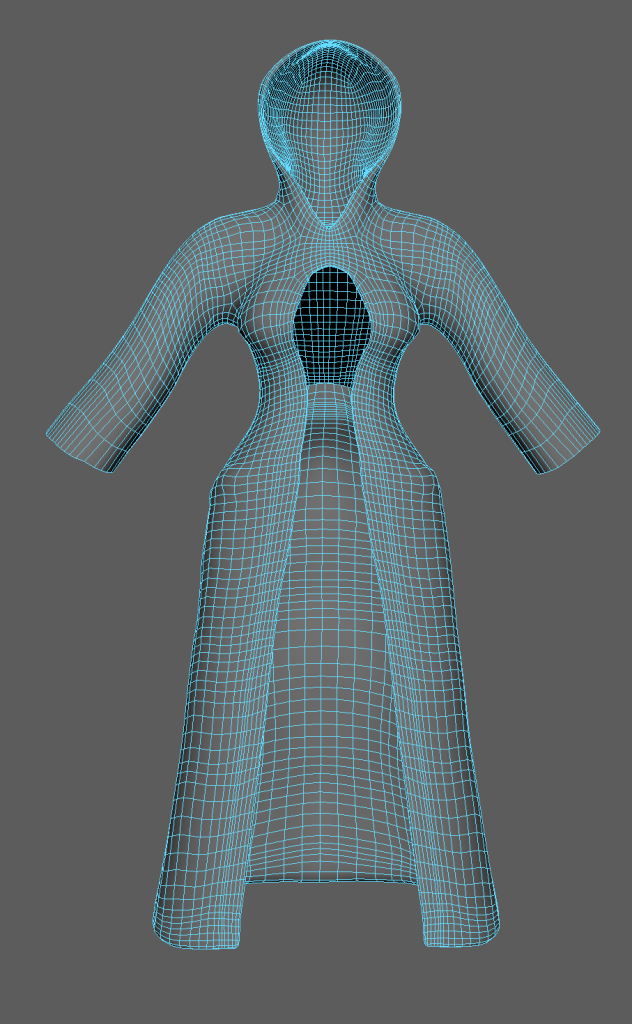
For the clothing I started by trying to create the cloak as I felt that it would be the most difficult part. I tried several different ways to create the cloak. One example of this was trying to create a sheet that using cloth physics would fall on to the body and cover the character. This was after I made a head hole and positioned it correctly. However I wanted to make a robe with arm holes rather than a cloak that covered the arms as the character would need arm movement to carry the weapon.
I also tried to create a robe using the method that the tutorials used, this method was to mask an area of the character and then use the extract option in the sub tools menu to create an outer layer. After having a shirt extruded, I masked the bottom of the shirt extending and altering the size to create a long robe. Then using the zremesh tool I subdivided and the stretched robe. Using the Zmodeler tool I deleted the middle faces on the front to create an opening, whilst leaving some attached at the top so that it would not fall off and connected around the neck. I played around with using more cloth simulations but ultimately decided not to.
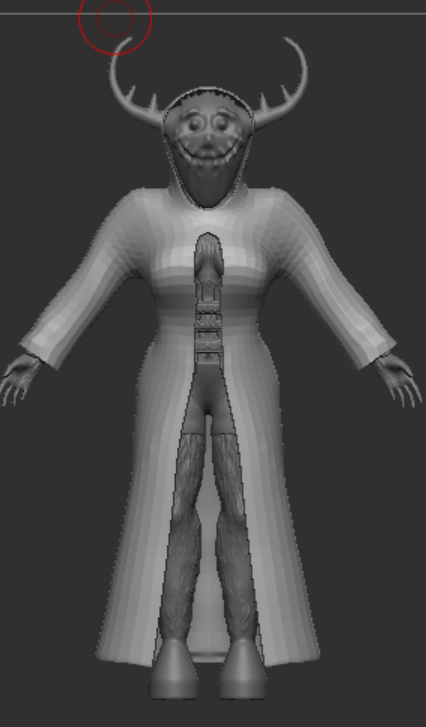

For the other clothing I used the extract tool to create shorts for the character to wear. In a different project earlier in the learning process I created the mask.
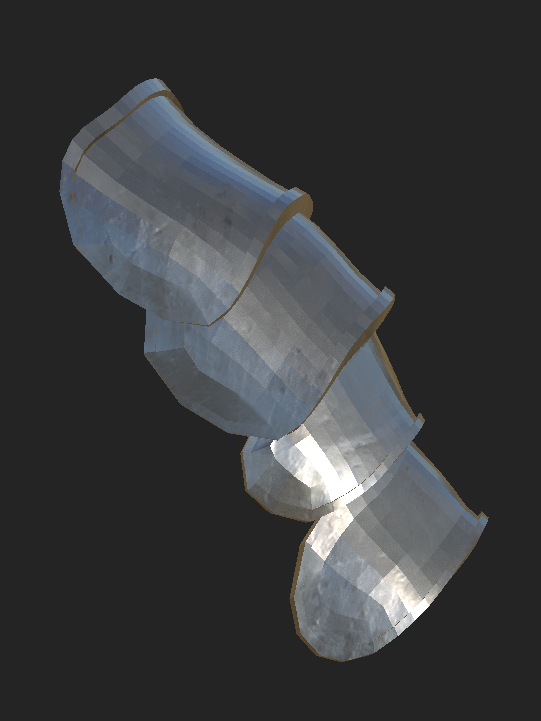
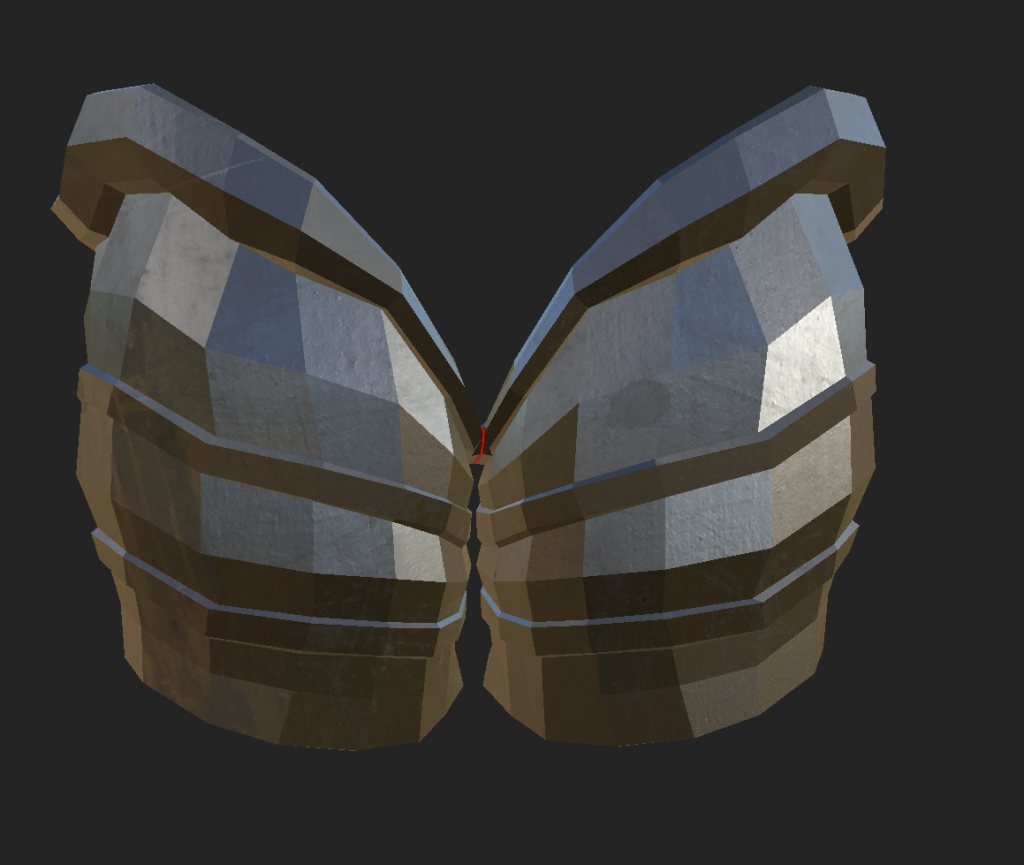
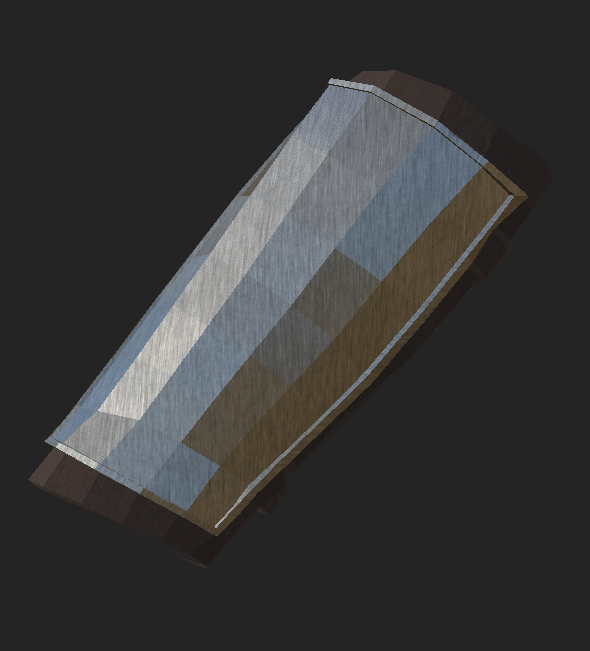
I edited to match the character concept and style to enhance my character, these assets ended up being the axe, a corset that has since been removed from sketchfab, some upper leg armour, bracers and spaulders, when I got these assets I then edited them in zbrush to match the character’s body shape and for the axe adjusting the scale and overall size to match the concept of the oversized weapon, I then used the decimate tool in the zplugin tab to reduce the polygon count of everything and then I exported it to use in maya
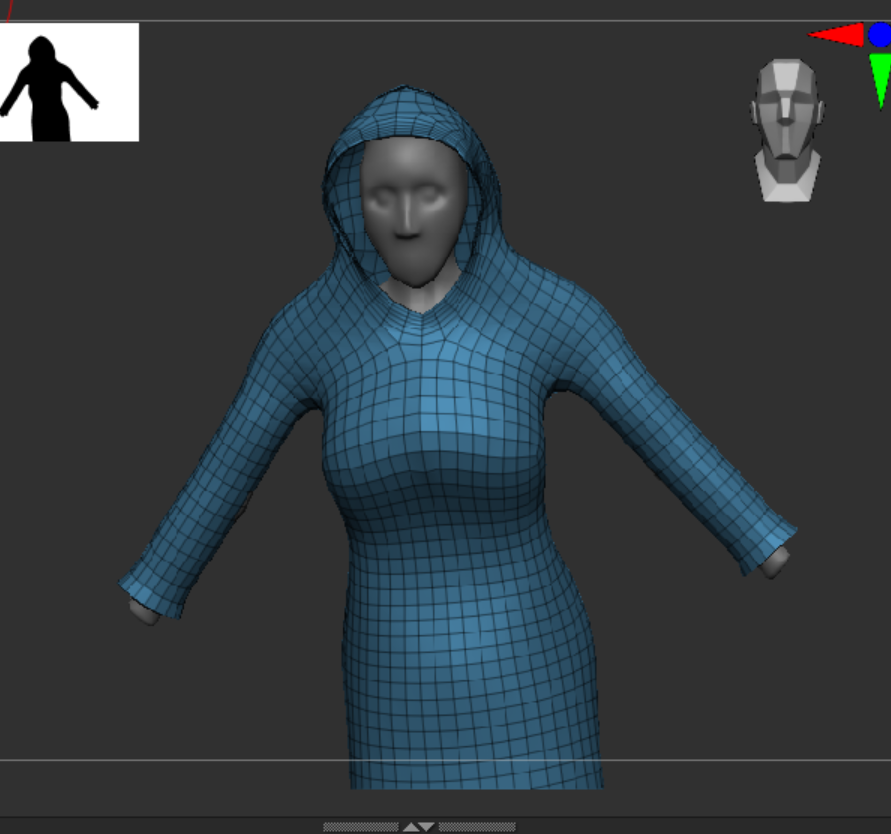
maya and topology
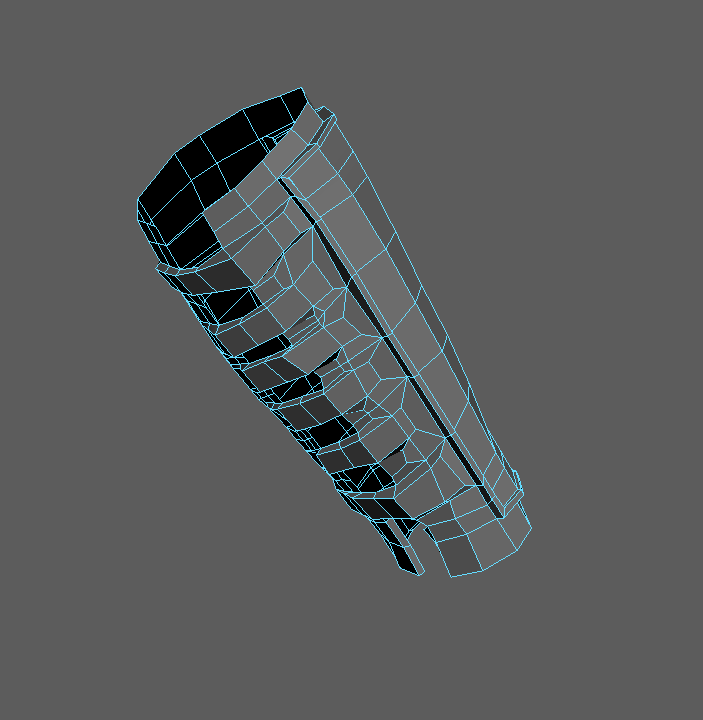
In maya I needed to retopologise my character, I did this using the quad draw tool in mao fully figure out ya. During the process I forgot to take screenshots as I struggled thow the topology worked. As well as how to add more faces without subdividing everything. In the end I did the topology to the best of my ability. I retopologised everything and entirely avoided triangles as we were told to use as few triangles as possible. I only filled in the parts that are likely to be seen even in animation, not filling in the insides of all of the clothes.
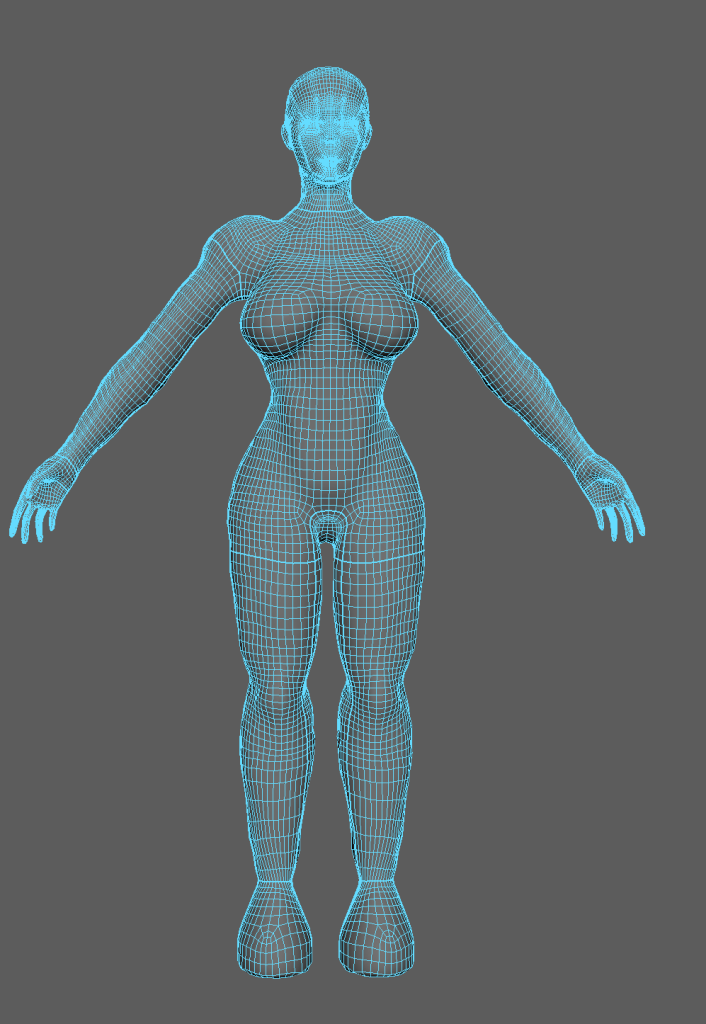
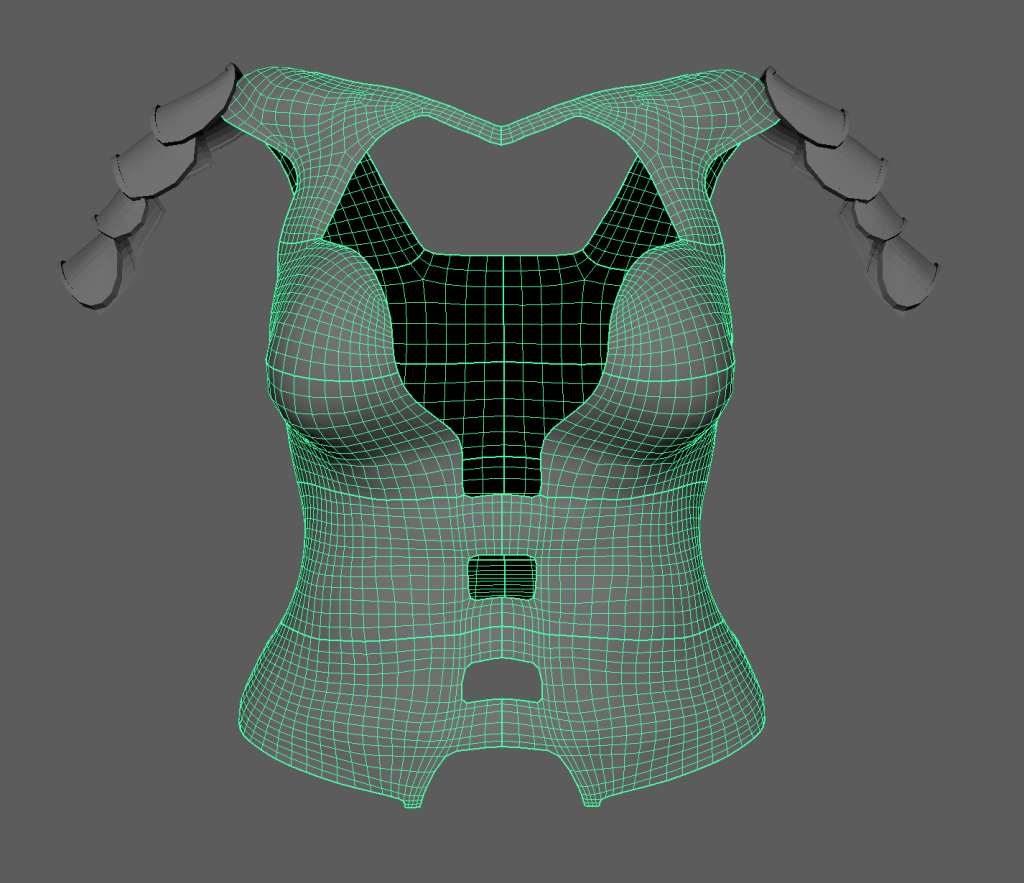
After the topology was at a level I was satisfied with I used the cut and sew tool to create seams along the pieces, these could then be arranged using the UV shell tool and the UV editor. It seemed best to keep the seams in places less likely to be seen. Like on the sides of the character and thighs so that they are hidden and any imperfections that come along with it are also hidden.
After the character and clothing were properly cut and sewn and arranged in the UV editor without big issues I added materials to each separate object and then exported them as an FBX file for texturing.
Substance Painter
in substance painter my first step was to bake the parts that I had taken detail out of, like the body, the corset and the bracers. I did this by getting a copy of the model with a low polygon count and one with a high polygon count then using the bake mesh maps option it made the lower poly model look like the high poly model. From there I started painting the character, starting with the body and not the clothes so that I could start to set the overall colour theme and vibrancy for the model as a whole.
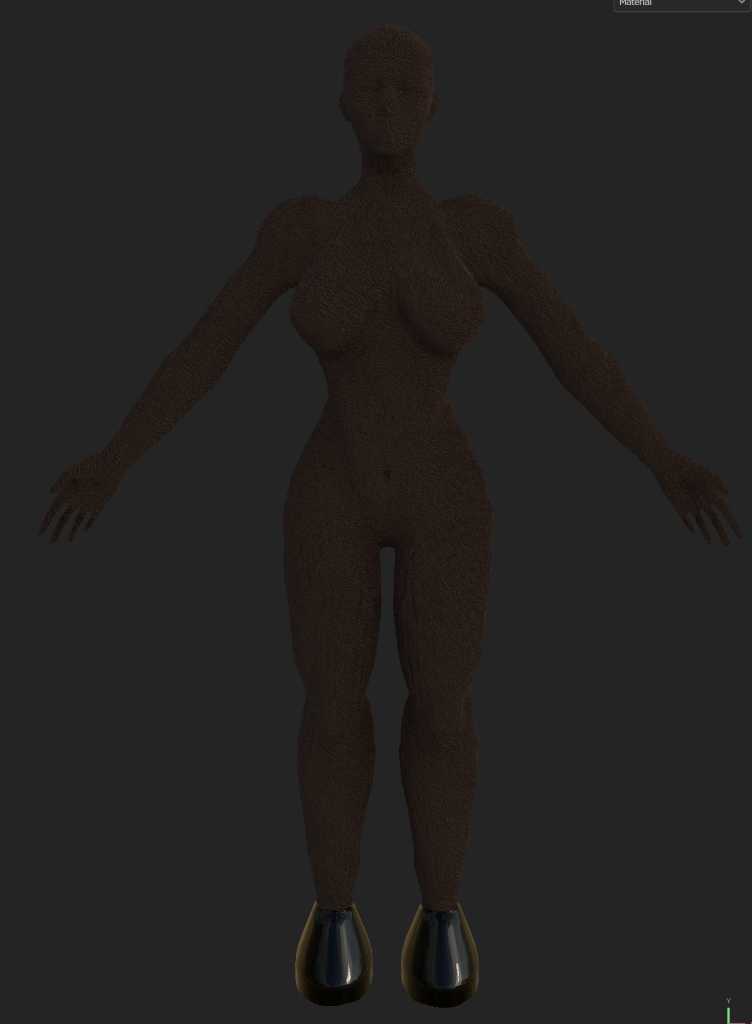
The first thing I did was create the base colour of the fur which was brown and had high roughness with no metallic to create a matte colour. Then on a paint layer that went underneath, using the fur tool with a height of around 0.8, I painted fur on the entire character other than the hooves. This added texture and depth to the fur. After this on another layer I used a lighter brown with similar settings to the base fur colour, painted the stomach and palms of the hands to create a colour difference on the belly. Like some animals have, doing the same for the hands to provide a contrast so that the hands are more defined. Similar to how the palms of monkeys look. Next on yet another layer with a black brush with high metallic and some roughness but not too much I painted just the hooves to give the shiny look that animal’s hooves have. Finally on the last layer I used the dirt brush and a grey-brown colour with high roughness and around 60 opacity I painted mud stains onto the hooves to show that the hooves are obviously used and therefore picked up mud over time.
The first items of clothing that I textured was the fully metallic armour pieces – the leg armour and spaulders. This was because it was simple, for them I added the stained steel smart material to the objects. Then in the same way I had done with the hooves, I added dirt marks to them. With less on the spaulders due to the height from the ground, and more on the leg armour because of being on the legs and in a position to be splashed should dirt get flung up.
Next I textured the bracers as they were the only metal piece of clothing left, for this I added the brushed metal material, adding the weathered leather material on top. I changed the leather colour to a dark brown, with both of the materials on the object. Then I added a white mask to the top leather material and then painted around and filled in the metal plating top piece.
Next I textured the character’s shorts and these were as simple as adding a fabric cotton material and then altering the colour to give a light tan colour to match the theme of medieval fantasy and the clothes worn.
For the corset I started by adding a damaged leather smart material to the object, then changed the leather colour to a somewhat faded purple. Then I went over the model with the light brown dirt brush and with more at the bottom added dirt stains to once again make the outfit fit better as if it was actually worn and not perfectly preserved.
I decided to make the corset purple instead of the regular brown or black to add some vibrancy and colour to the character so that they are not entirely bland with black, grey and browns. I also did this because the mask was intended to have bright and vibrant colours and having some colour on the corset would help to better tie together the model.

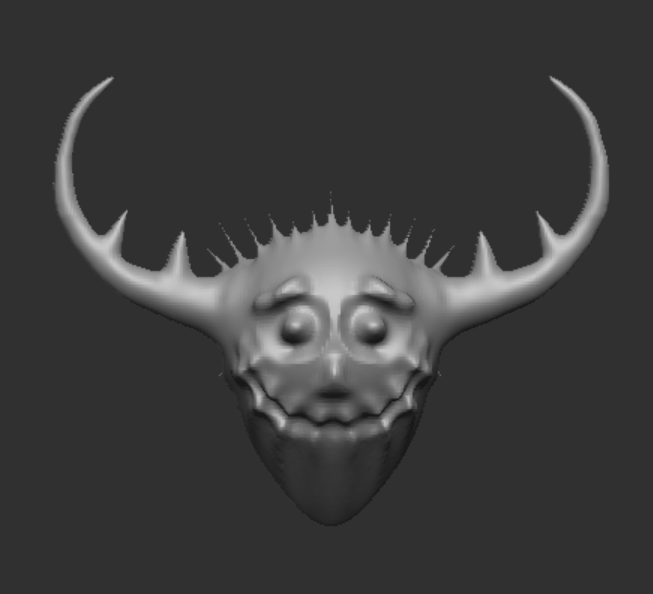
The mask texture was created with a wood slice material and then on top had colours painted on top. For this I started with the tips horns and painted them a bright red and then further down transitioned to a bright purple. Which covers the majority of the horns and ends up being the primary colour of the mask, alongside the base wood colour. Then I coloured the eye holes on the mask in white, and the eyeballs in the same bright purple. Next I gave the mask a bright yellow nose and coloured the mouth in a light green. The final steps for texturing the mask was to make the colours look faded as if they had worn over time. I did this by using a bark brush tool with a low opacity erased some of the colour and then around the edges used the blend tool to make everything blend better.
The final piece of clothing for me to texture was the robe, I went with the natural-coloured leather smart material, for the texture of the robe and changed to colour to black and then once again went over it with a layer of dirt especially at the bottom.

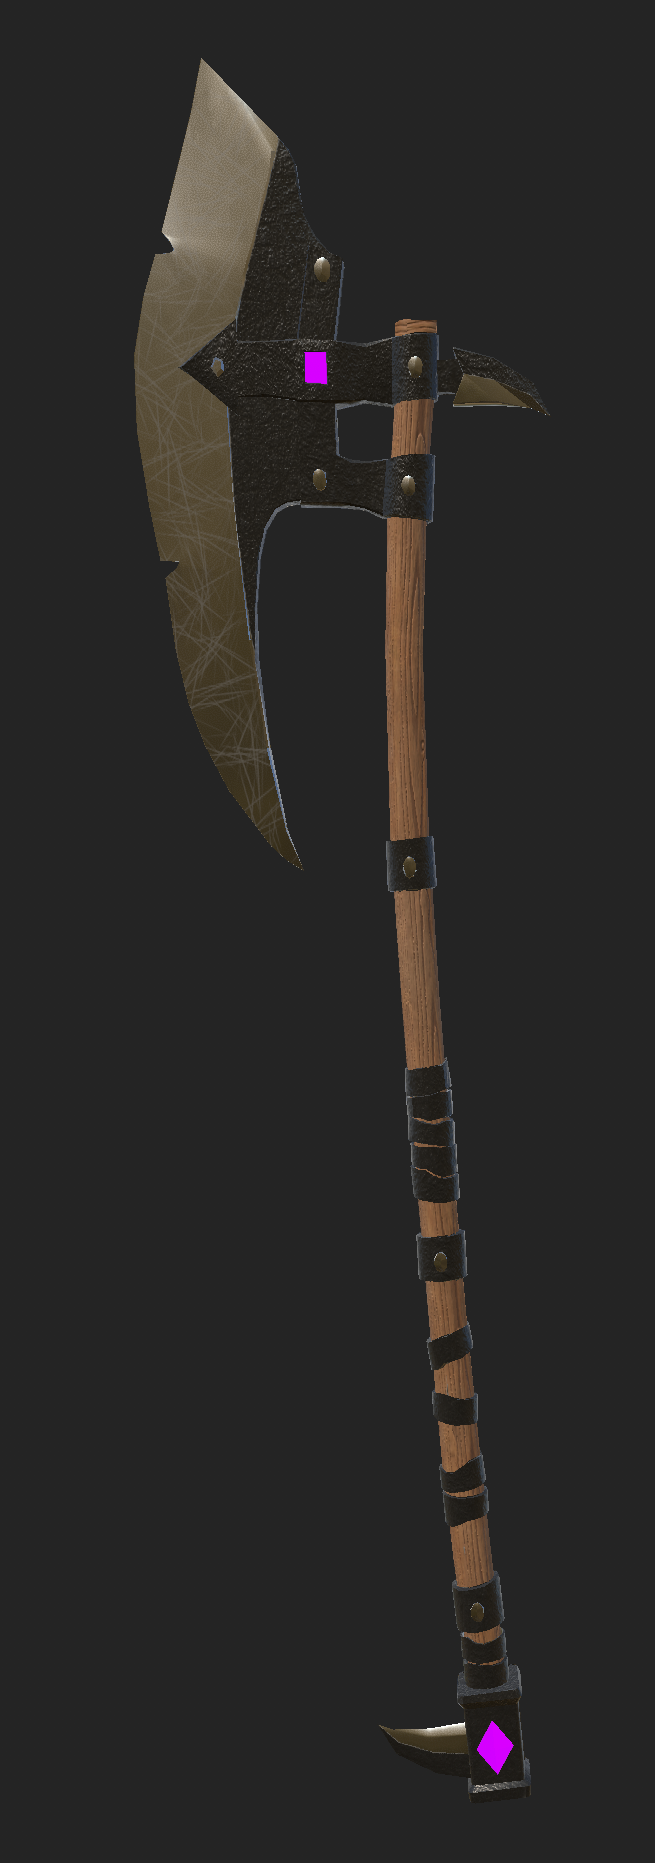
The axe was a later addition, I was not certain about. I textured it in a separate file. For the texturing I used three main materials, the body and then another two materials for some accent colours. The main three materials I used, the Nordic wood ship hull smart material as I felt it looked nice with the clear grain pattern and it also matched the colour I wanted. For most of the metal parts such and the rings on the handle I went with the plastic grip material as it was the colour and texture that I desired. The unsharpened and less shiny parts of metal and for the sharpened axe head and small spike at the bottom and back I used the steel painted clearcoat smart material, as it has a shiny but not overly polished metallic look. This matched how I felt that the blade should look, with all of these materials using marks, I made the materials only visible in the intended areas.
For the accents I used the glass visor and aluminium anodized red smart materials and changed the base colour of both to a magenta colour. I masked these layers so that they were only visible on the accent areas.
The final details I added to the axe were scratch marks on the blade using the scratch brush and a lighter grey to show wear and tear of being used over time.
final product
After fully texturing the character without the weapon I started to export the textures from substance painter to put them back into maya for rendering and after assigning all of the material attributes I started to render using the maya viper renderer to get a 360 degree turntable video of the character, I ended up taking some screenshots of the rendered image and making a two video sets with different lighting that contained renders both with and without the axe in hand that I later improved using some character rigging to change the hand position and others without the axe in the default position.