Introduction
The second topic that we discussed is AR (augmented reality) and its different uses and applications in a wide range of sectors. Such as helping with interior design to be able to see different furniture or objects inside a room without having to purchase the item. It has also proved useful for parking assistance and google maps since AR it can create an overlay that can better show directions and distance in the context of the area around you.
In the class discussion we were told about ways that AR is helpful as a tool for work and training such as with WorkLink by ScopeAR which use AR to help with repairs and maintenance. By overlaying instructions and models on real places that are being repaired or having maintenance performed. This provides the assistance from an expert with fewer delays than calling a specialist in that field regularly. It also allows people without experience to be able to complete repairs with less issues and mistakes.

Another similar use for AR is in the medical field as it can be used to help train medical staff on a 3d model of the body and all organs that is closer to a real procedure with no risk of causing injuries or harm to a real patient, an example of this is EchoPixel. It can also be used for surgeons to have an overlay during a procedure with either instructions or guides from other medical professionals, or even remotely project a surgeon’s hands on to a AR display of the surgeon on site to help guide them.

https://www.softwaretestinghelp.com/augmented-reality-examples/
Zapworks
My first experience with using AR was the task we were given to use Zapworks and unity webgl to create an AR scene.
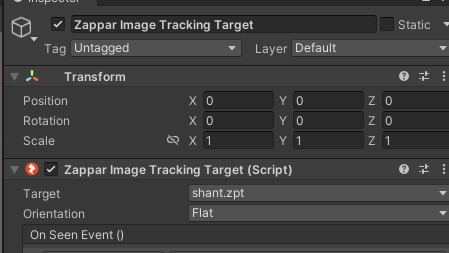
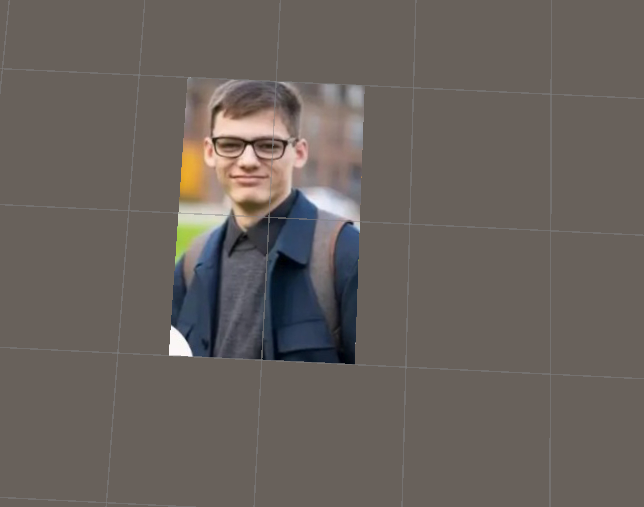
I started by following the instructions that we were given, which were to create a unity scene and change the build platform to webgl. Then in the scene delete the main camera and replace it with the camera type needed which was a “rear facing camera” that is in the zappar tab. After that I had to add an “Image tracking target” which was also in the zappar tab. Next I had to change the anchor origin of the camera to be the image tracking target, to do this I dragged the object in the hierarchy to the anchor origin box in the camera’s settings. Subsequently I had to train a custom image for tracking, to do this I used the image trainer in the zappar tab and changed the source image path to the image I wanted to use and start the image trainer. Once the image was trained I selected the zappar image tracking target in the hierarchy and changed the target to my image. This caused my image to appear in the scene as the image tracking target, for this I used an image of my friend as I intended to use this opportunity to have fun and make jokes whilst learning the content.
The image was found at :https://www.instagram.com/p/C5n59kXihLp/?igsh=d3IzZWRzejB5N2sy
Then I imported the model that I wanted to show when the image was scanned. This was a model of a fantasy goblin by dungdao on sketchfab 3D models liked by lwmmg – Sketchfab and adjusted the rotation of the model to be the same orientation as the person in the image.
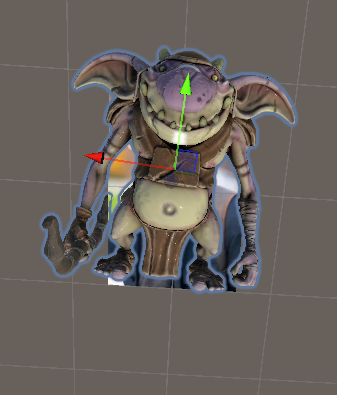
After properly orienting the model I then added events for when the image was seen by or invisible to the camera. When the image was seen it made the model visible and appear in front of the image. When the image was not shown the model would not be visible and hidden in the scene. Then I set the model to be inactive by default so that the image had to be seen by the camera to appear.

At this point in the zappar tab again I updated the project settings to publish and finally built the scene as webgl. After the project was fully built then I used 7Zip to zip the build folder.
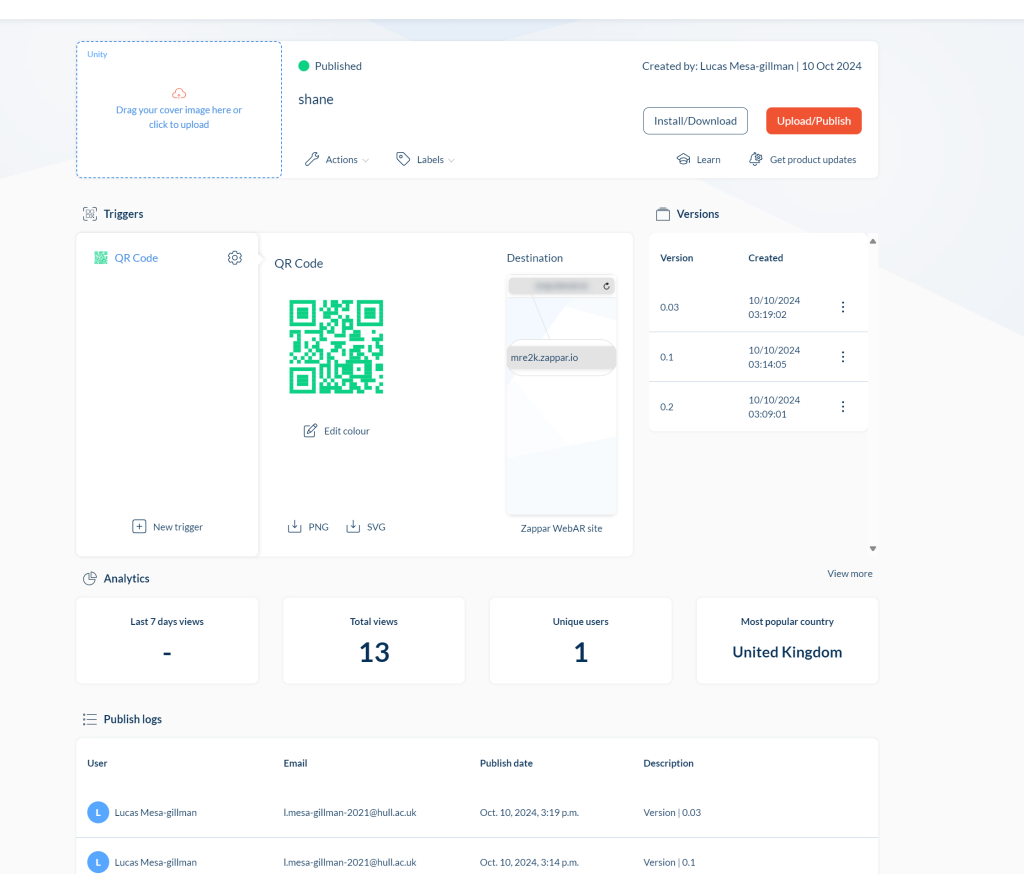
On the zapworks website I created an account and made a new project as the universal AR project type with the software development kit as unity. Finally I named my project and uploaded my build folder.
Zapworks results
In the end I created three projects with zapworks, the first two being the assets and scene we were given in the tutorials and the final being the one I created alone. When somebody scans the QR code for the project and then looks at the designated image, the 3d scene will appear on the screen, and as long as the designated image is in view then they can look at different angles of the scene.
The first two QR codes have the same image that triggers them, with one being an animated scene and the other being a still scene.


The last QR code is for the personal project I made using the image of my friend.

Adobe aero
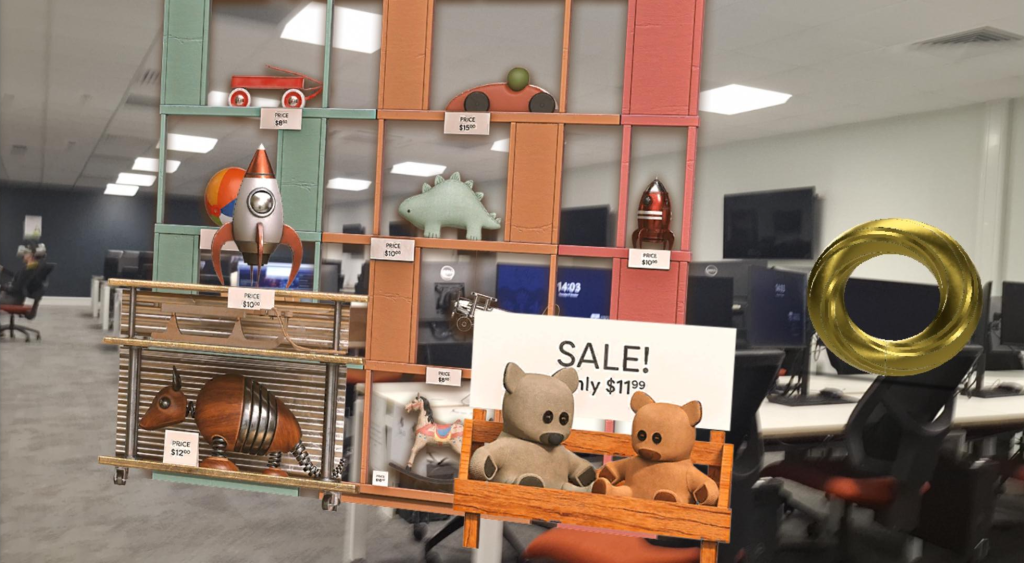
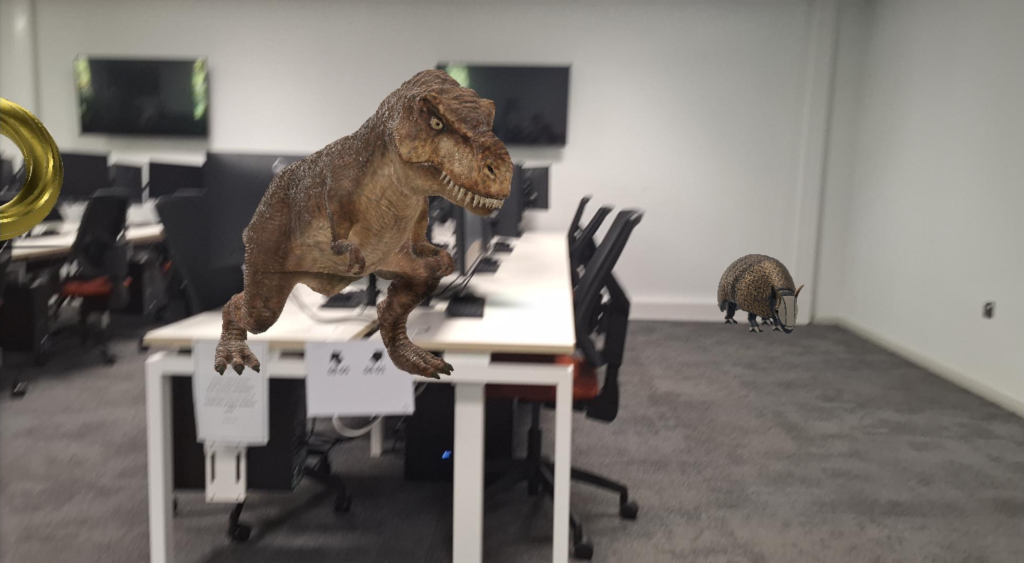
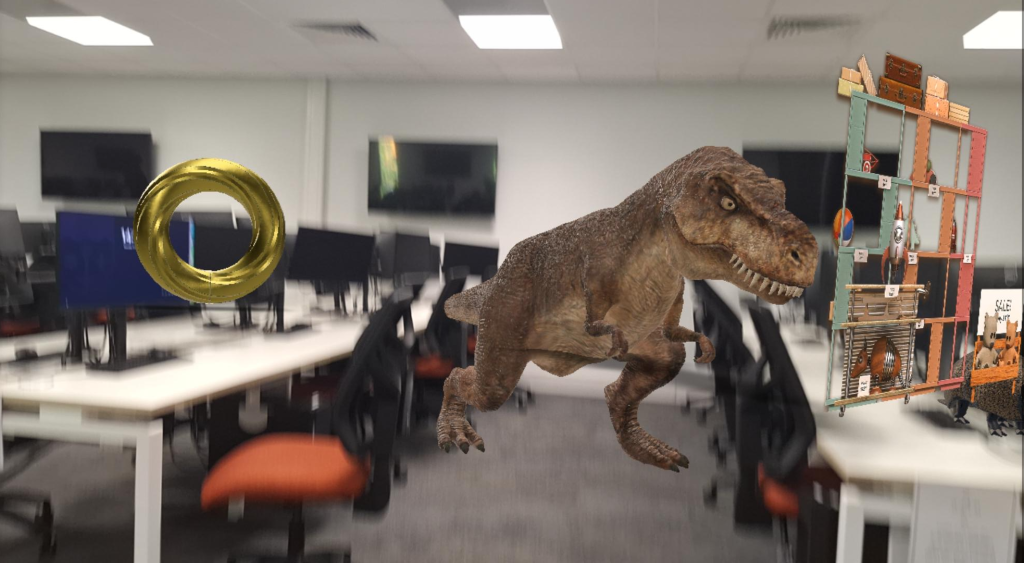
My tests with adobe aero were incredibly short and limited due to time and group constraints. However we did learn how the software worked and it was fairly simple. To start with we scanned the preferable flat and open environment in the app, and then we were able to place and edit 3d models in the scanned environment. For this each person in the group got a chance to play around with placing objects in the environment and moving where they were in the room.
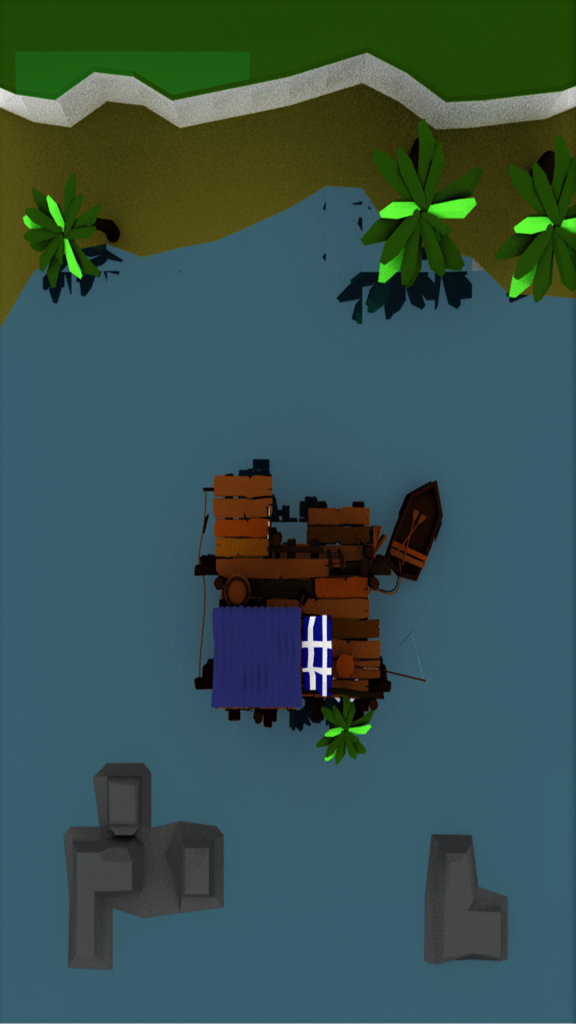
In adobe aero we placed models or even animated models into the scene and were able to move, rotate and scale them to place them how we wanted in the scene. We did have some issues however, due to the fact that we were only able to briefly test the software and some features were not working properly at the time. We were limited on what we could add as there were very few models able to be placed in the scene via the ipad. While we were able to add some other models and animated models by logging in on the pc and adding them from there and moving them on the ipad it sadly did not update in real time. The area had to be scanned again every time the scene was loaded which caused some desynchronisation issues in the scene. Sadly we did not take many images of our work in adobe aero and what we did was fairly low quality however it does show some of the results of our testing.